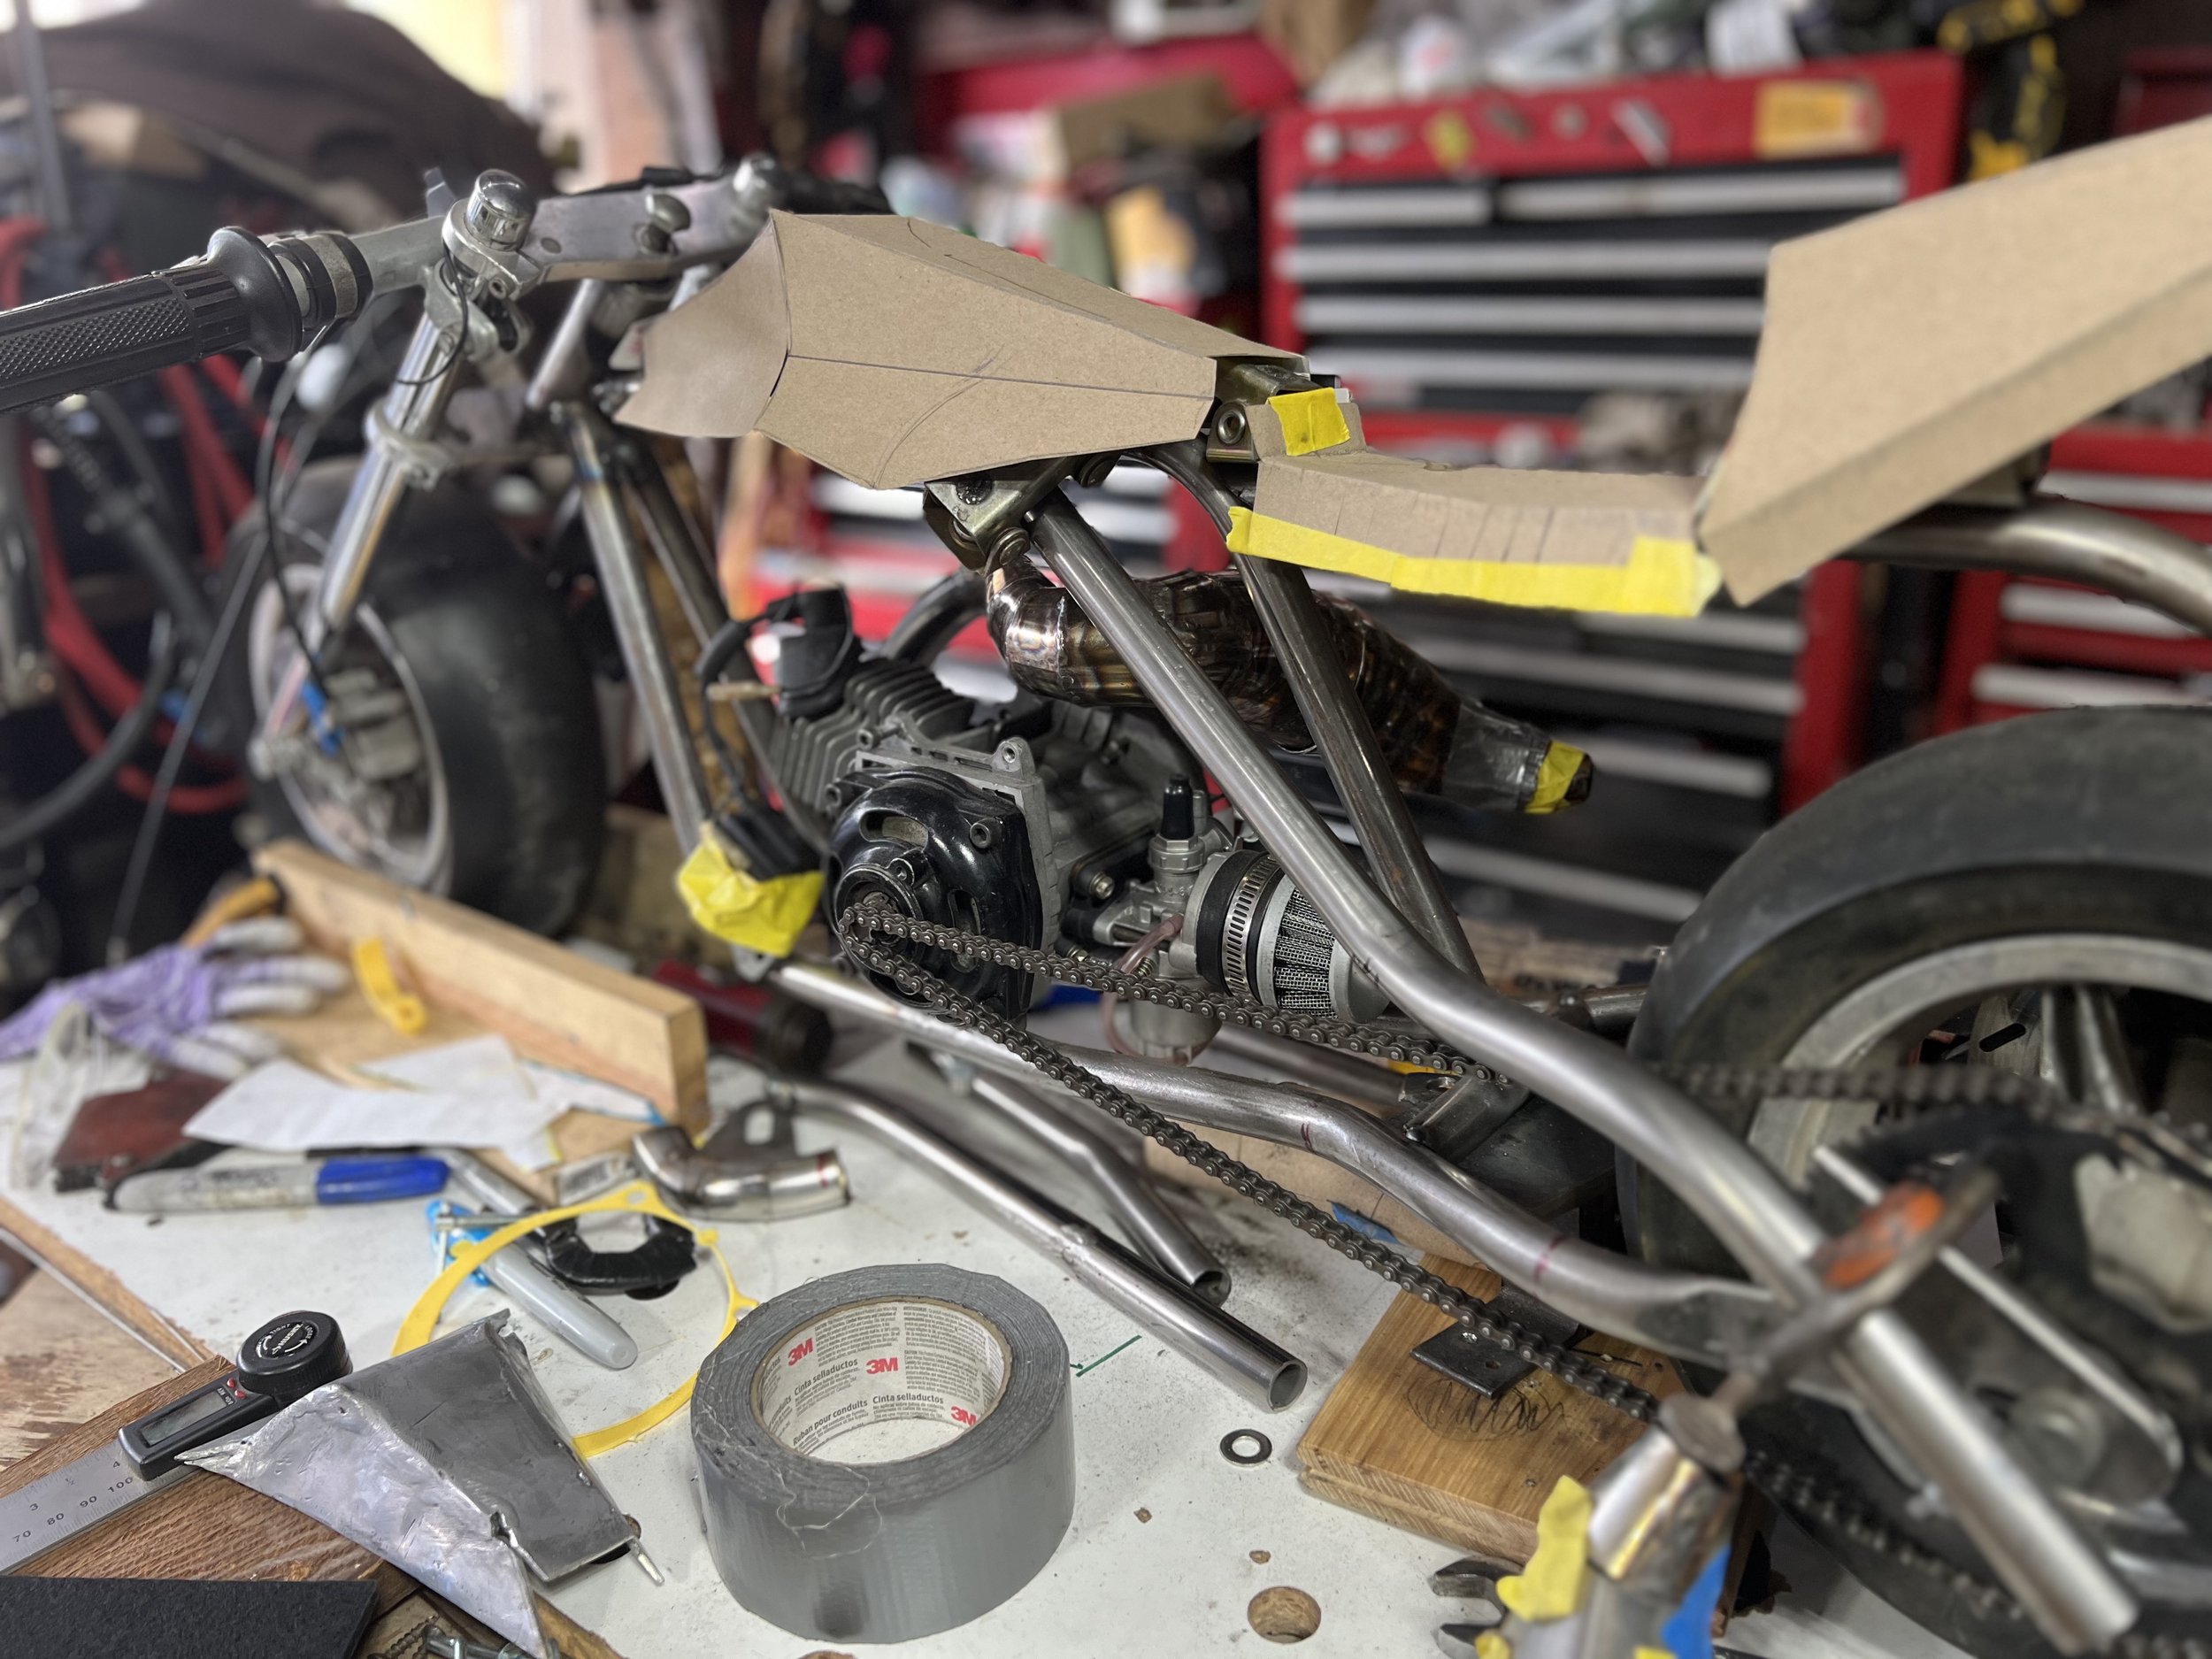
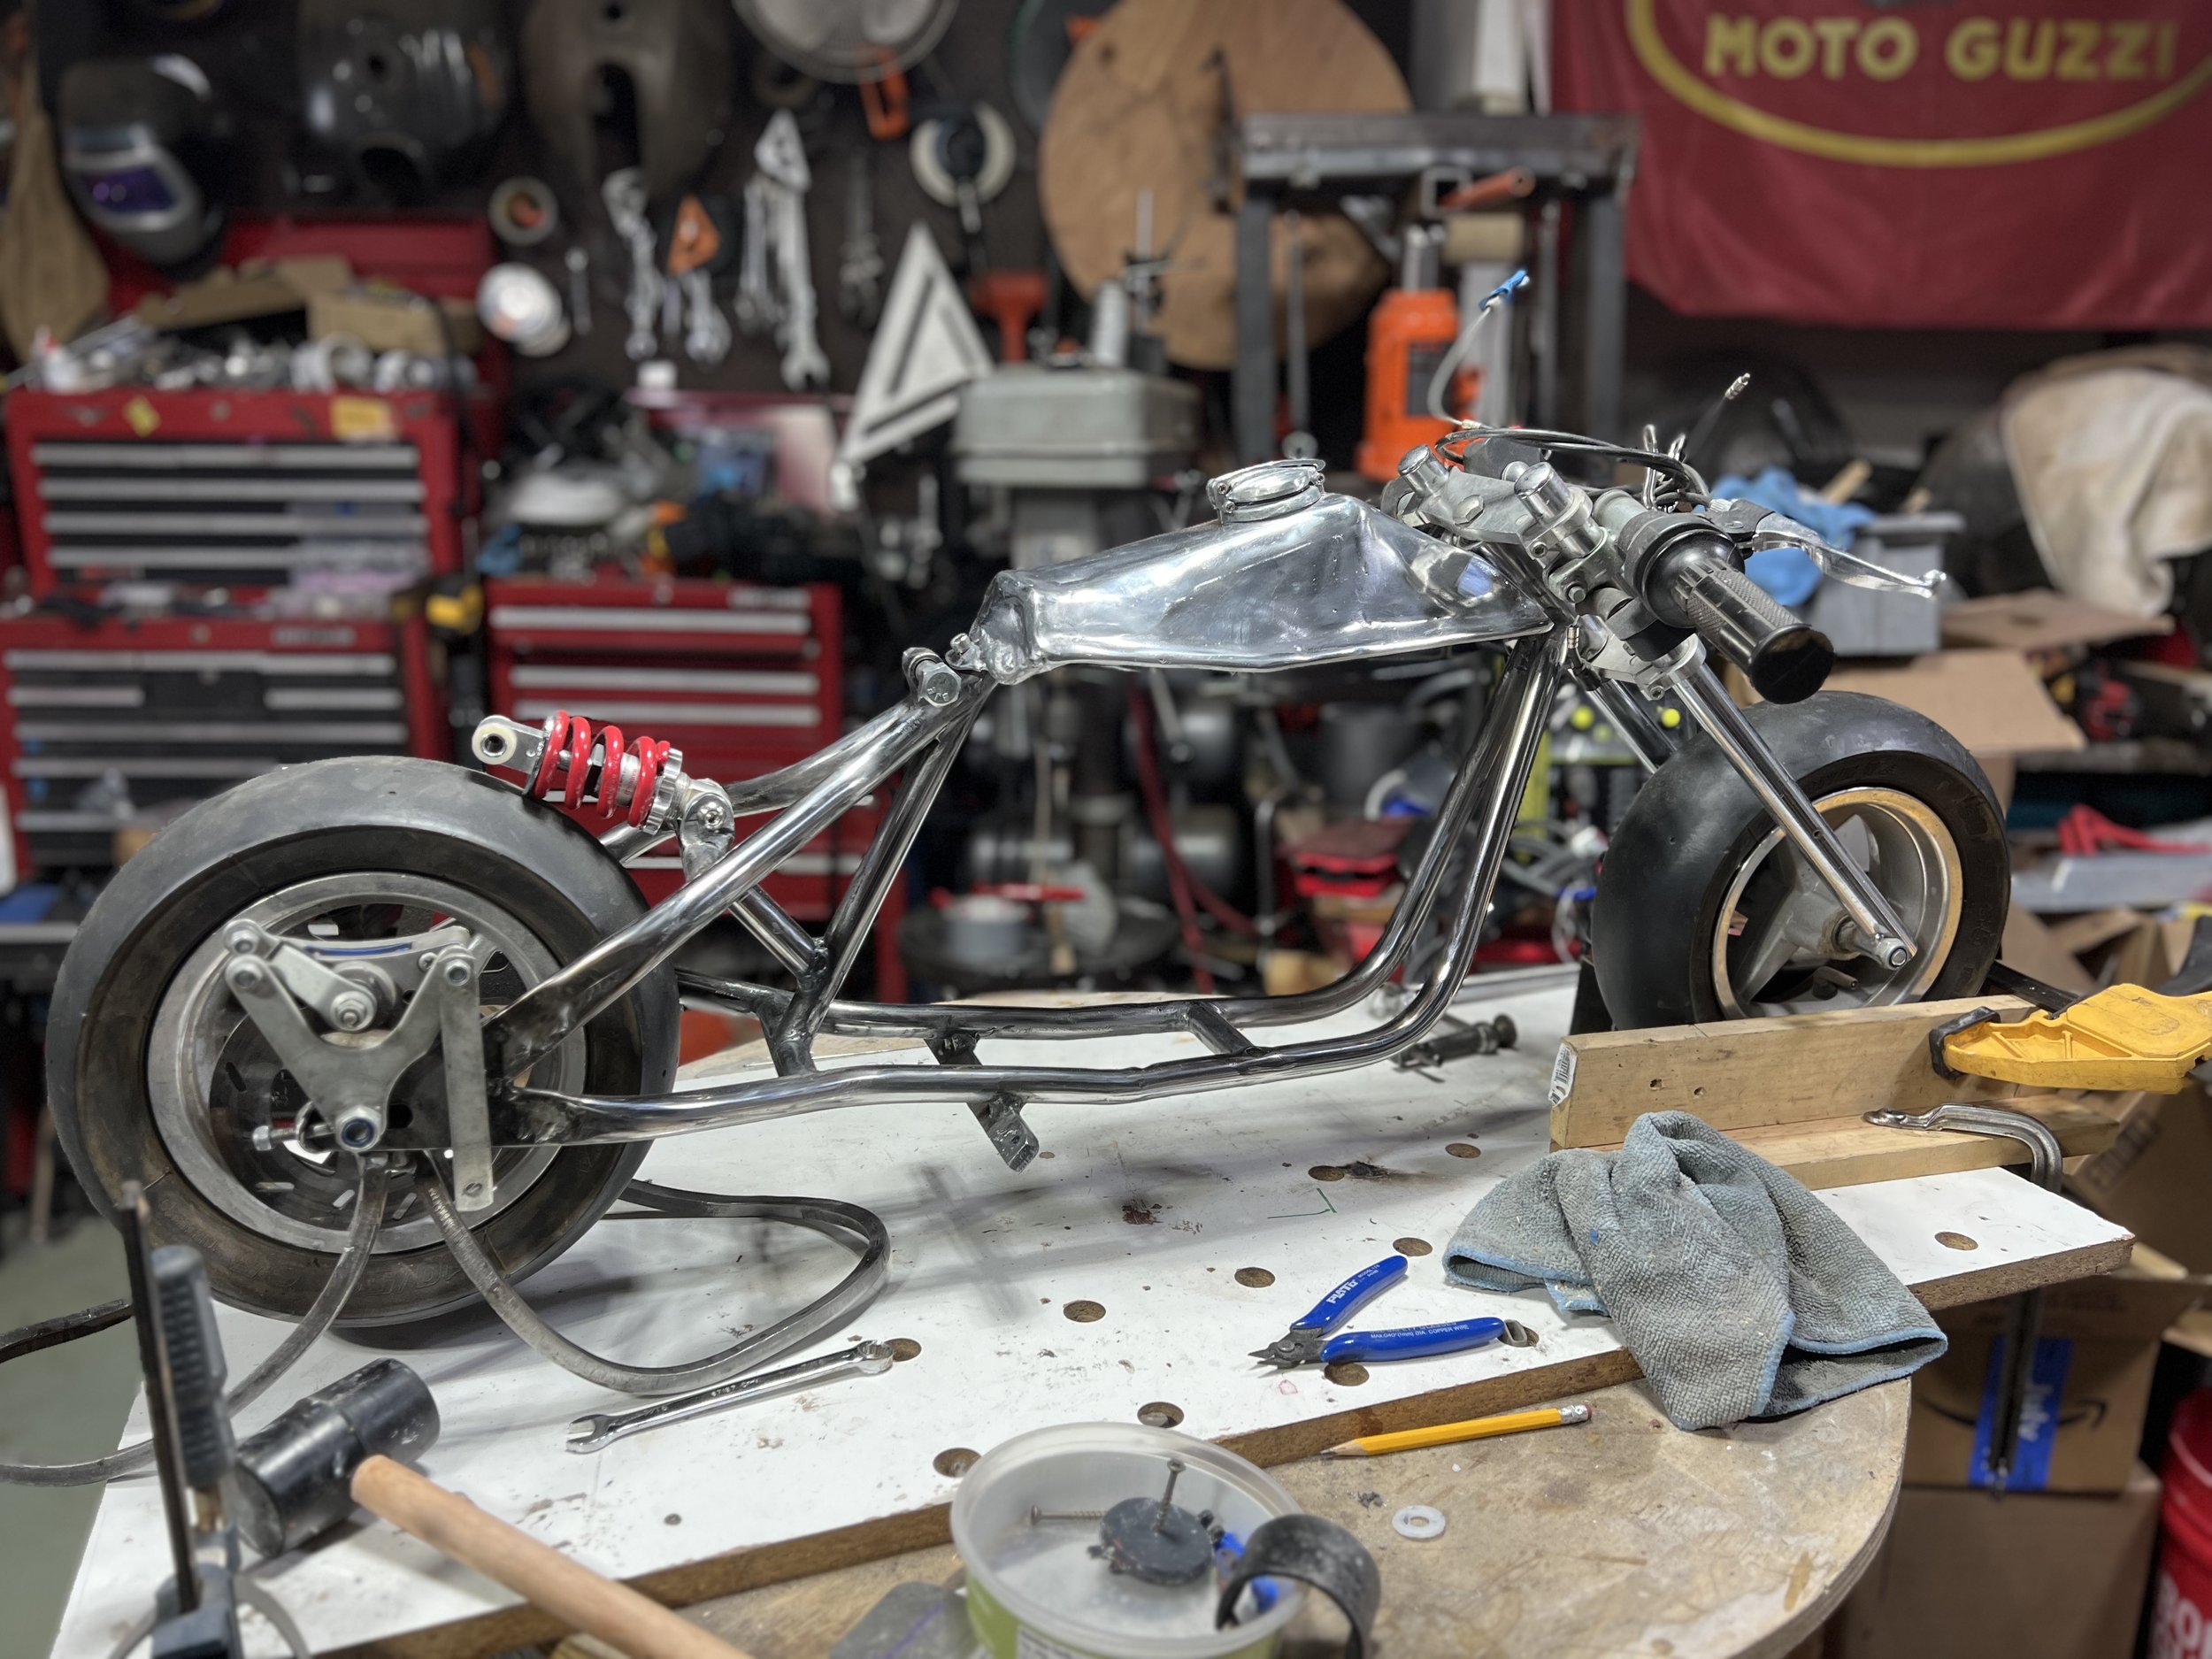
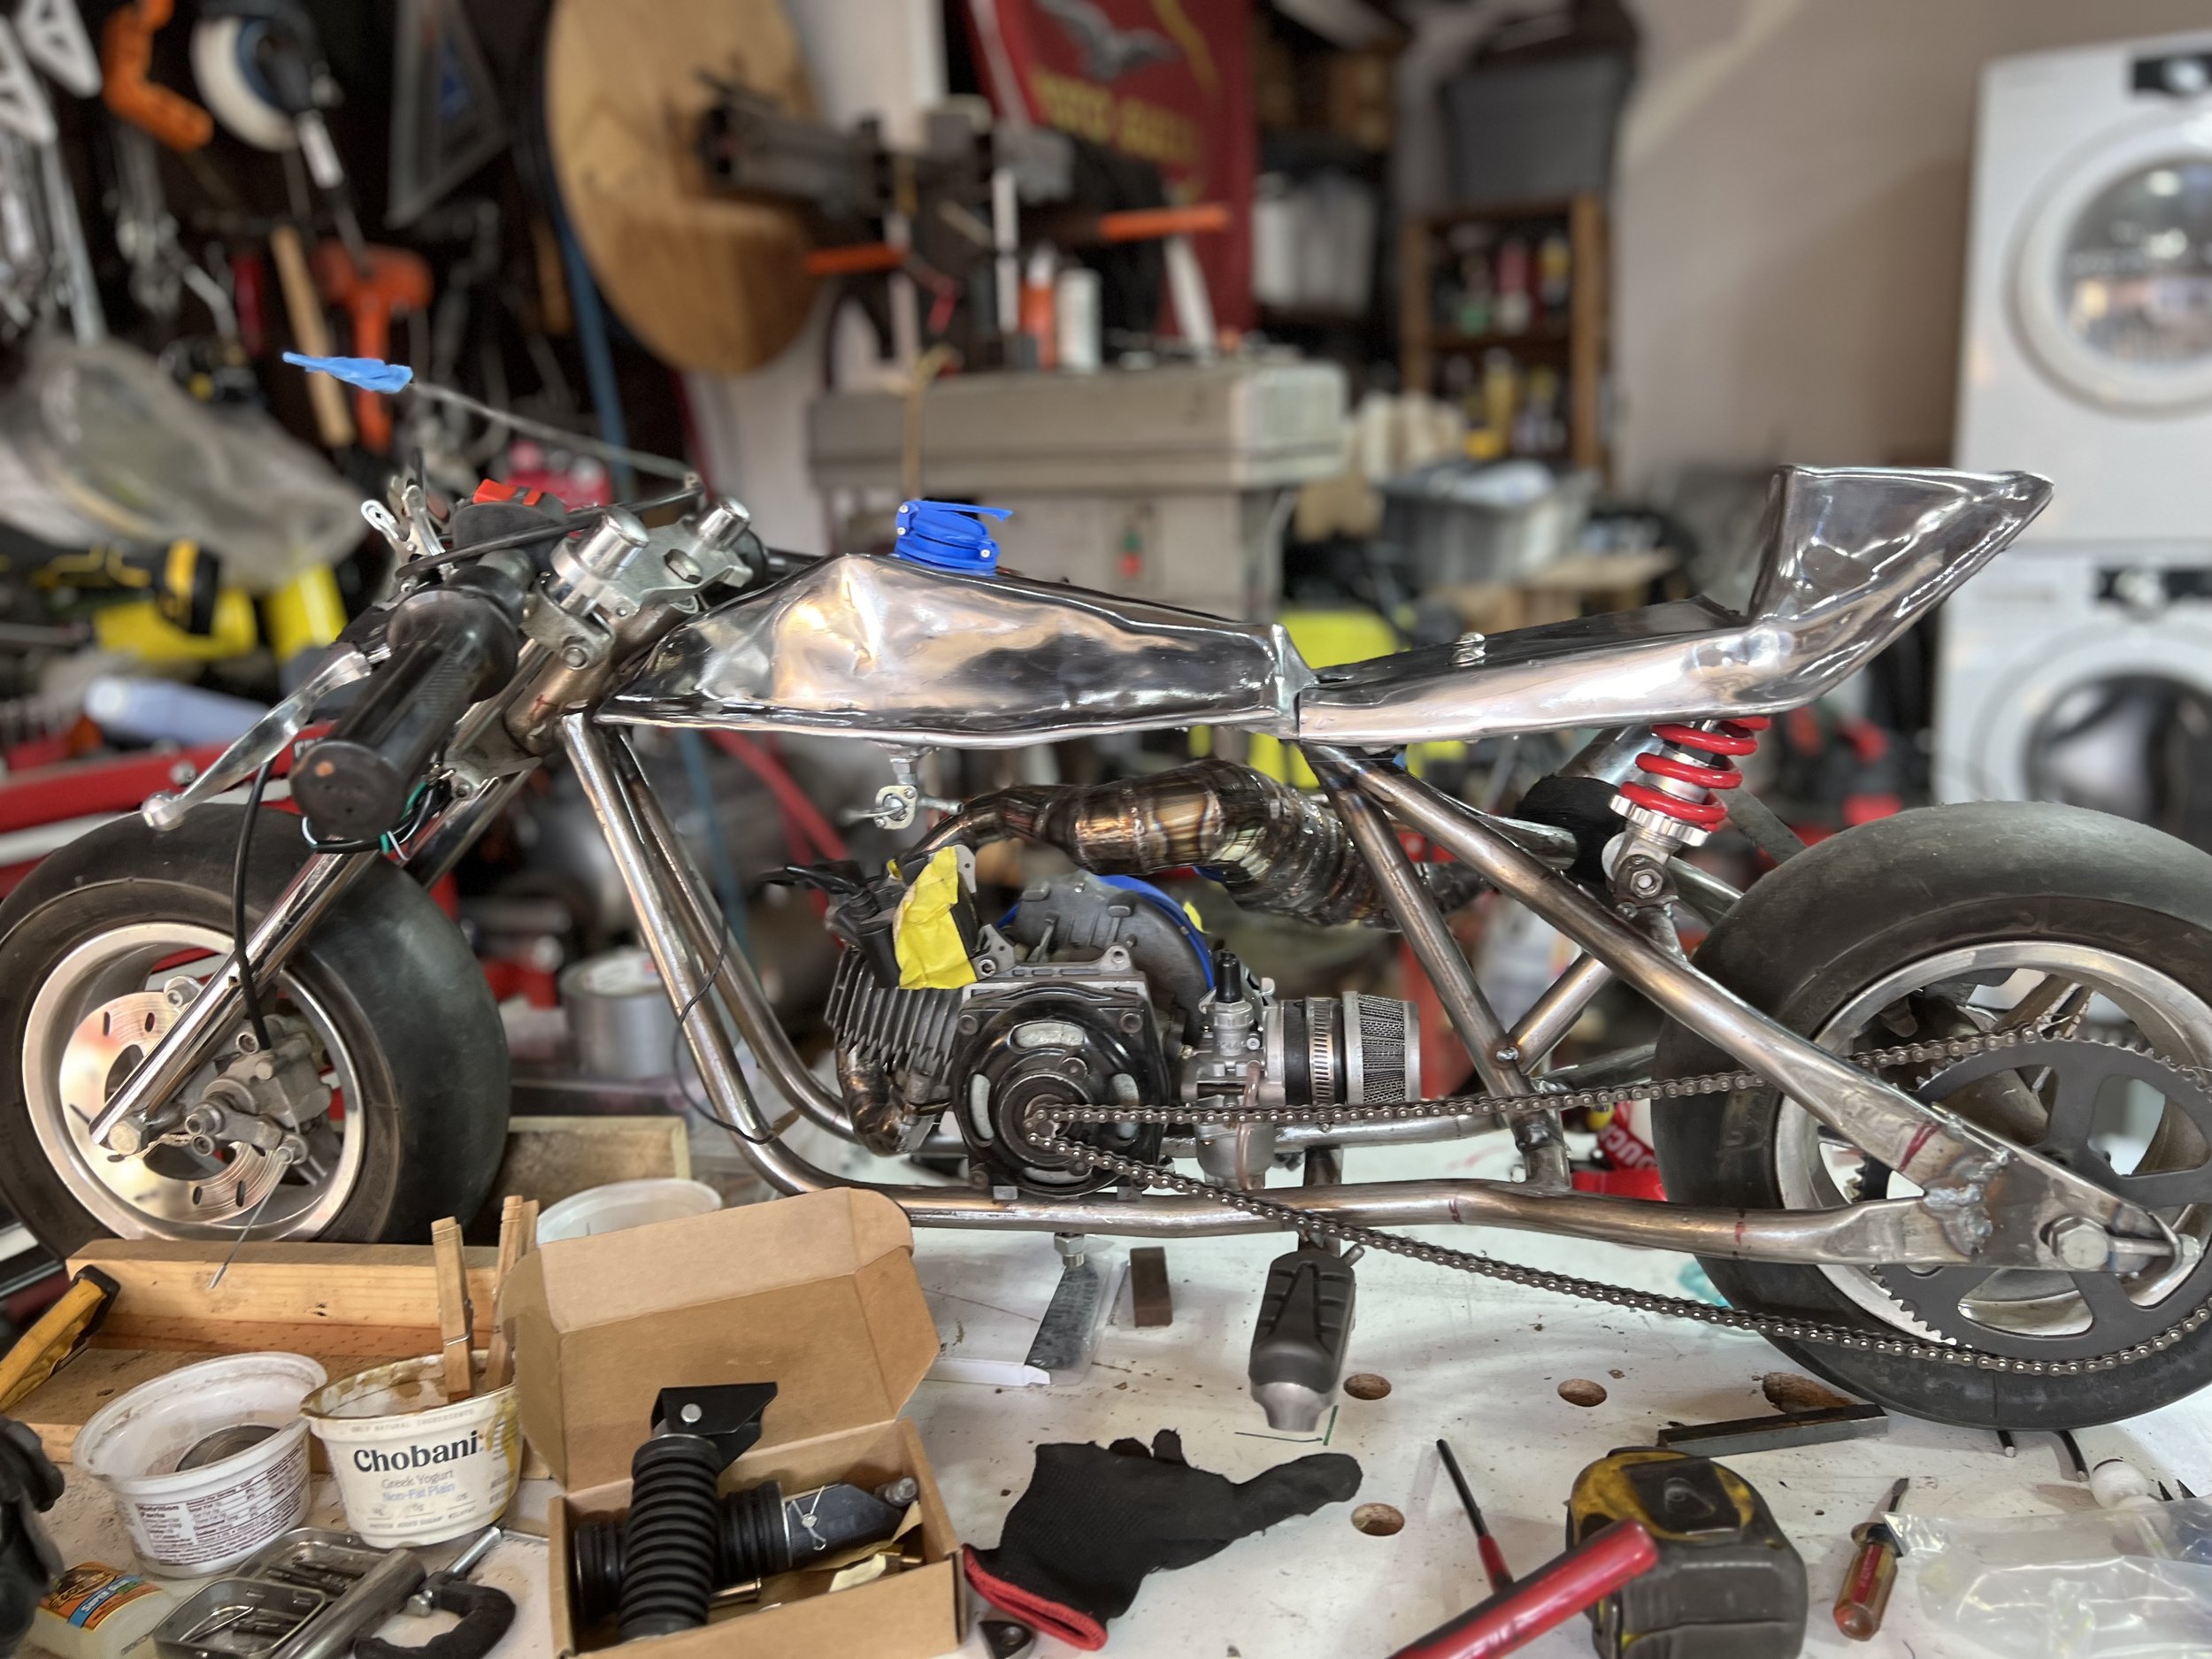
unknown pocketbike 50CC 2-stroke

fabricator: SHIRLEY PETCHPRAPA

issaralabs@gmail.com

www.issaralabs.com

instagram.com/issarafree

917 482 4332

  • frame up build

  • aluminum bodywork

  • stainless steel exhaust/combusion chamber

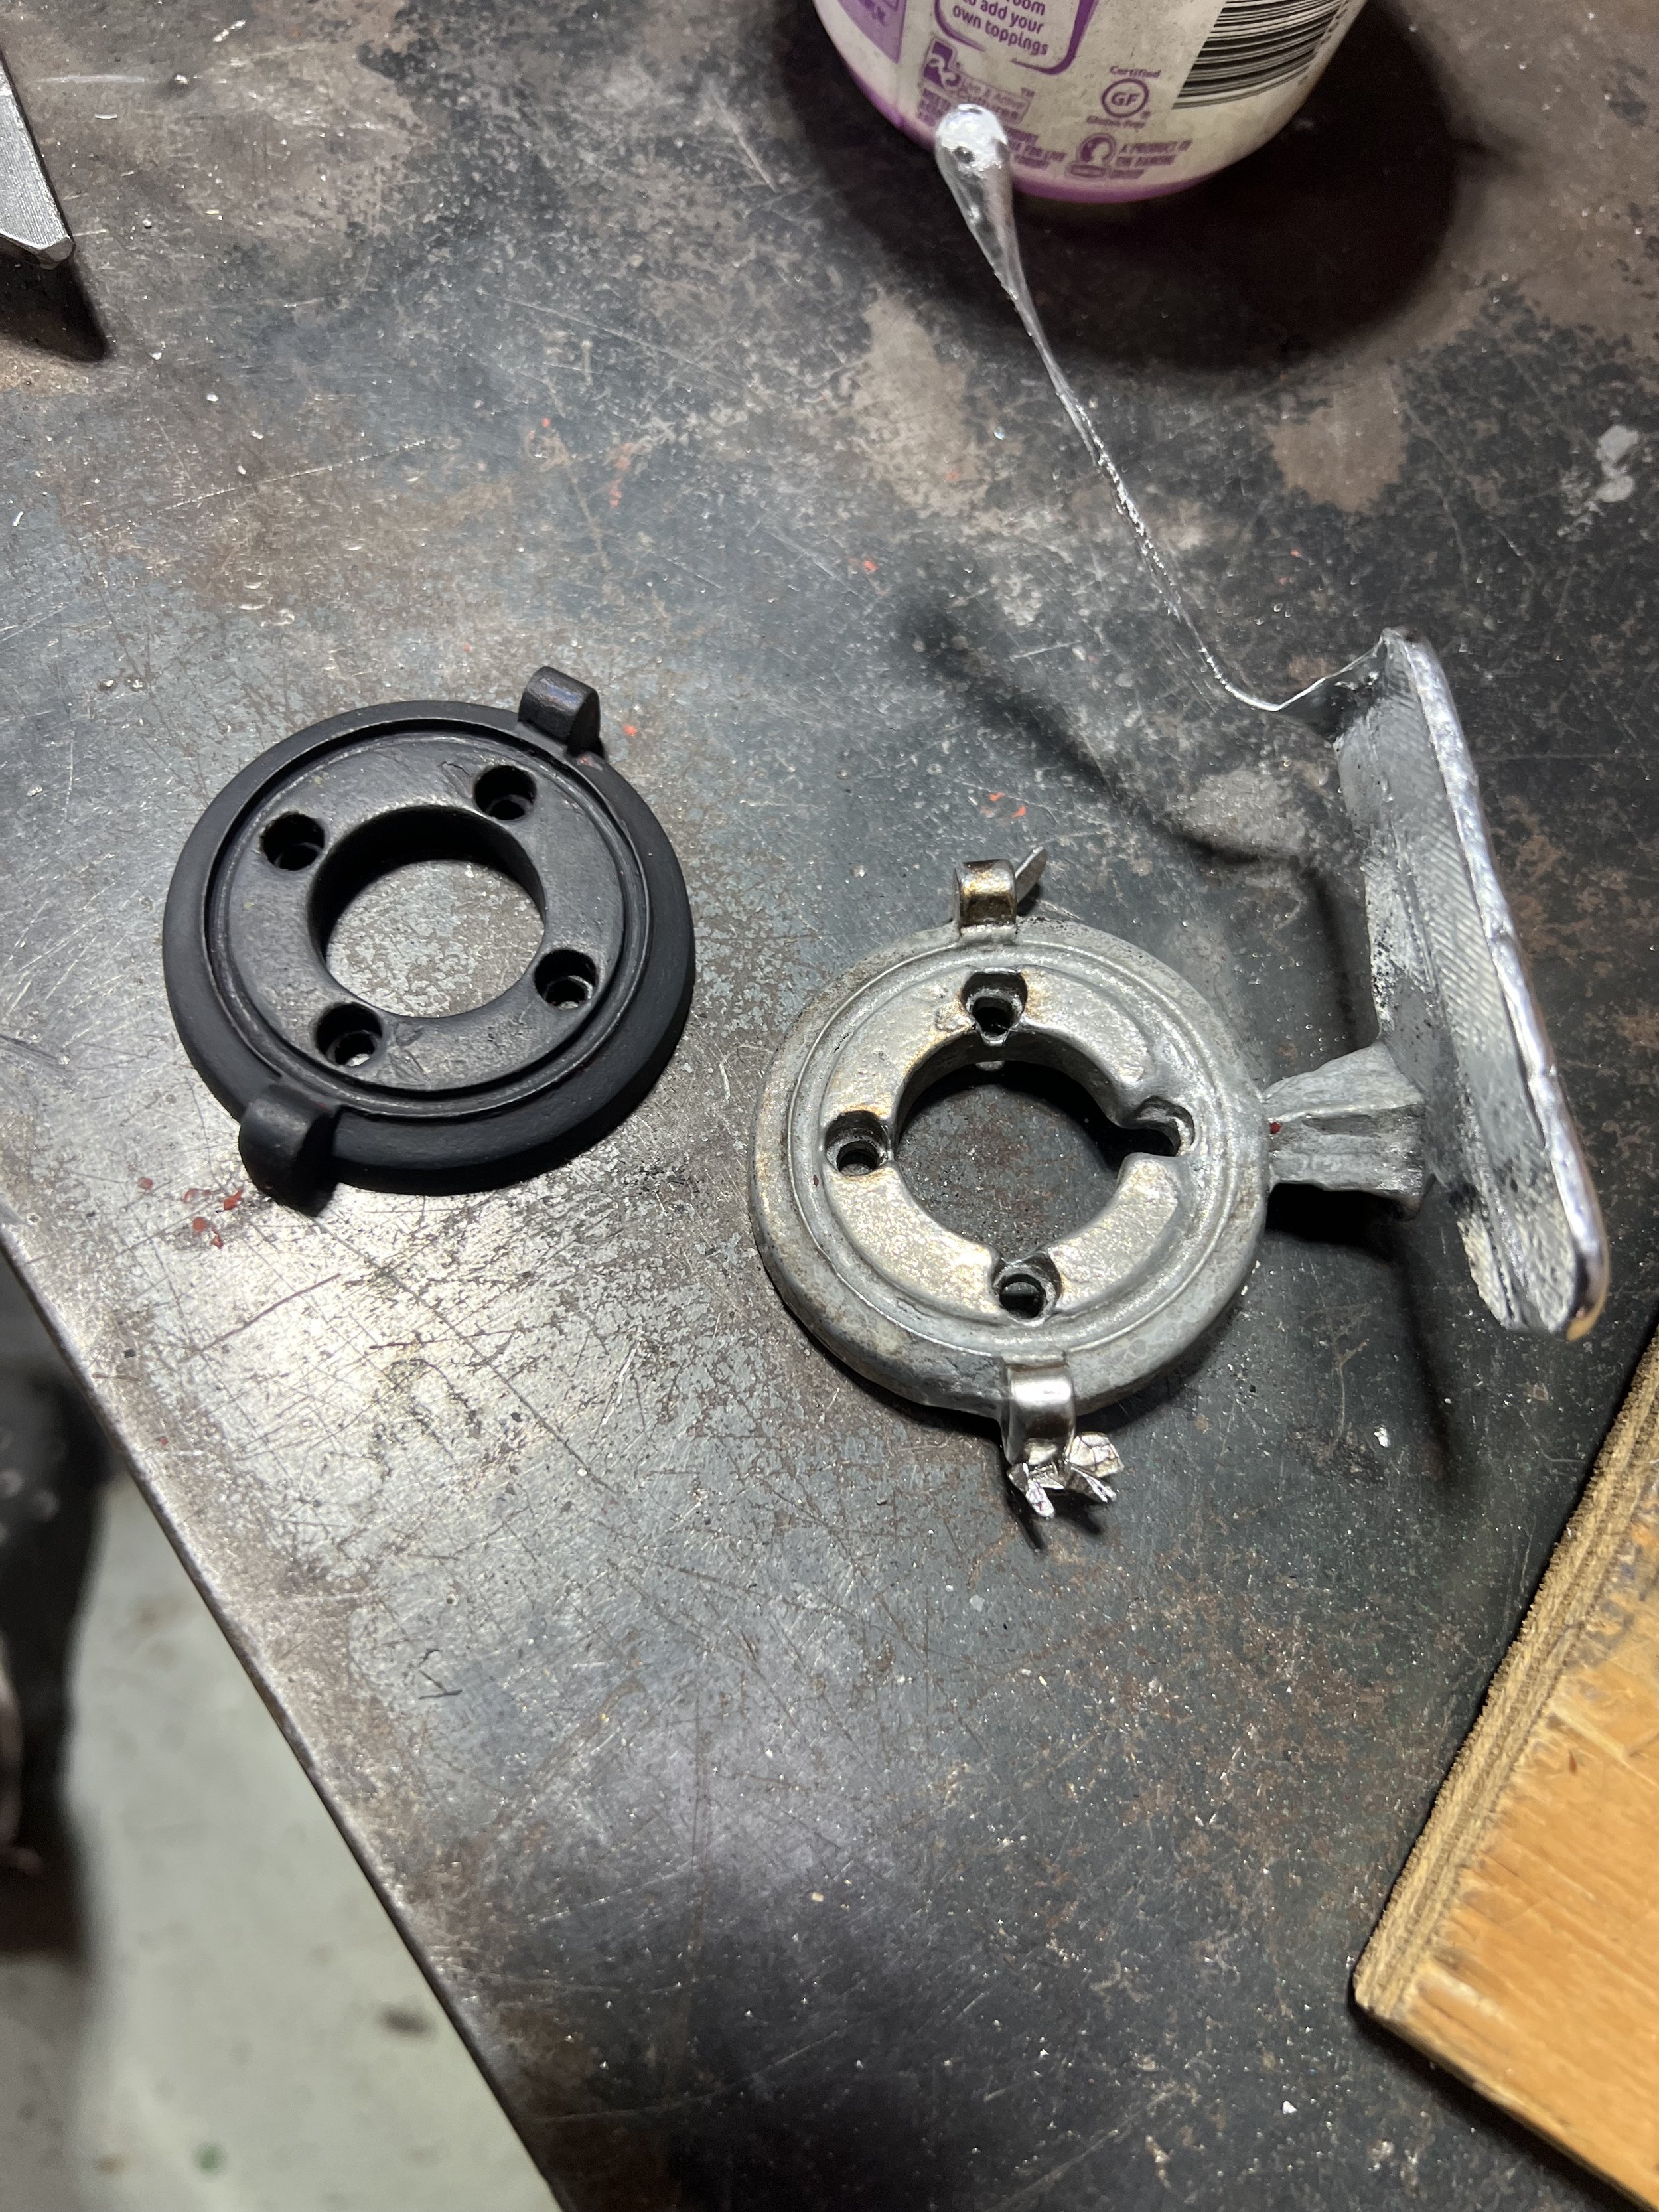
  • sandcasted parts/ aluminum fuel cap, flywheel cover etc

  • custom leather grips

  • mostly everything

“doorstop”

After an amazing trip to Austin with my 1978 Moto Guzzi “Big Block Envy” for the Handbuilt Show in 2023 I knew I needed to come back in 2024. I didn’t have a donor bike at the time nor the time to build a big bike so I turned around in my office and saw my doorstop (this wee bike) and decided it would be perfect for my next build!


naked

elongating the chassis…maybe it will do land speed? :P (though not with those slicks!)

3D printed mockup of expansion chamber design

3D printed mockup of expansion chamber design

3D printed mockup of expansion chamber design

Rough CAD of exhaust. I tried to keep all diameters and lengths true to the original, because you know, optimized for power right? LOL

Frame mockup-up

Paper ideas

Aluminum is melts in such a tacky thick way I like to treat it like its clay, so I prefer to leave a degree of hammer marks, bumps and flaws in it while also giving it a full mirror polish - which allows it to bounce light and reflections in unpredictably ways.

3D printed mockup of expansion chamber design

Pie cuts cut individually and hammered into shape

First pie cuts - stainless steel

My bandsaw blade did not love the stainless. I wound up building myself a CNC plasma cutter months after i did the exhaust...SMH

CAD for he fuel cap to 3D print for sand casting model. The design is similar to readily available caps but I needed it about 30% smaller

I thought I was just gonna cut a piece of foam for the cushion but decided it needed some waffling. :)

I hate sewing - correction, i hate sewing machines...what should have taken a few hours of sewing turned into days chasing the problem to get it to work…

If only I had a 3D metal printer! The 3D print is used as the blank for the sand casting mold but not after a lot of post processing to get rid of the layer lines

Welded some of the deeper casting flaws…kept some in also for that hand built look

Failed aluminum cover casting. Back to the melt pile… First time doing this so understanding sprues, gates and venting et al

Made the locking arm from brass bar. hope to modify my furnace in the future to get hot enough to melt brass

CAD for he flywheel cover to 3D print for sand casting model

First casting in zinc alloy. Lower melting temp but way denser/heavier than aluminum. First experiment was in a silicone mold. I wound up doing it again in aluminum once I got a few sand molds under my belt.

3D print (left) with lots of post processing to get rid of the layer lines. The better the form the less post you will have to do with the final

Simple rear stand.

Aluminum melts in such a tacky thick way I like to treat it like its clay, so I prefer to leave a degree of hammer marks, bumps and flaws in it while also giving it a full mirror polish - which allows it to bounce light and reflections in unpredictably ways.

i thought it was almost done….just routing cable and finishing up the grips…but decided it needed one more thing…a small front fairing. Here just using scrap sheet to decide on the form - ultimately remade it with new material

Ready for The Handbuilt Show in Austin TX!

For more info on the show: https://revivalcycles.com/pages/handbuilt-motorcycle-show

i thought it was almost done….just routing cable and finishing up the grips…but decided it needed one more thing…a small front fairing

Ready for The Handbuilt Show in Austin TX!

For more info on the show: https://revivalcycles.com/pages/handbuilt-motorcycle-show